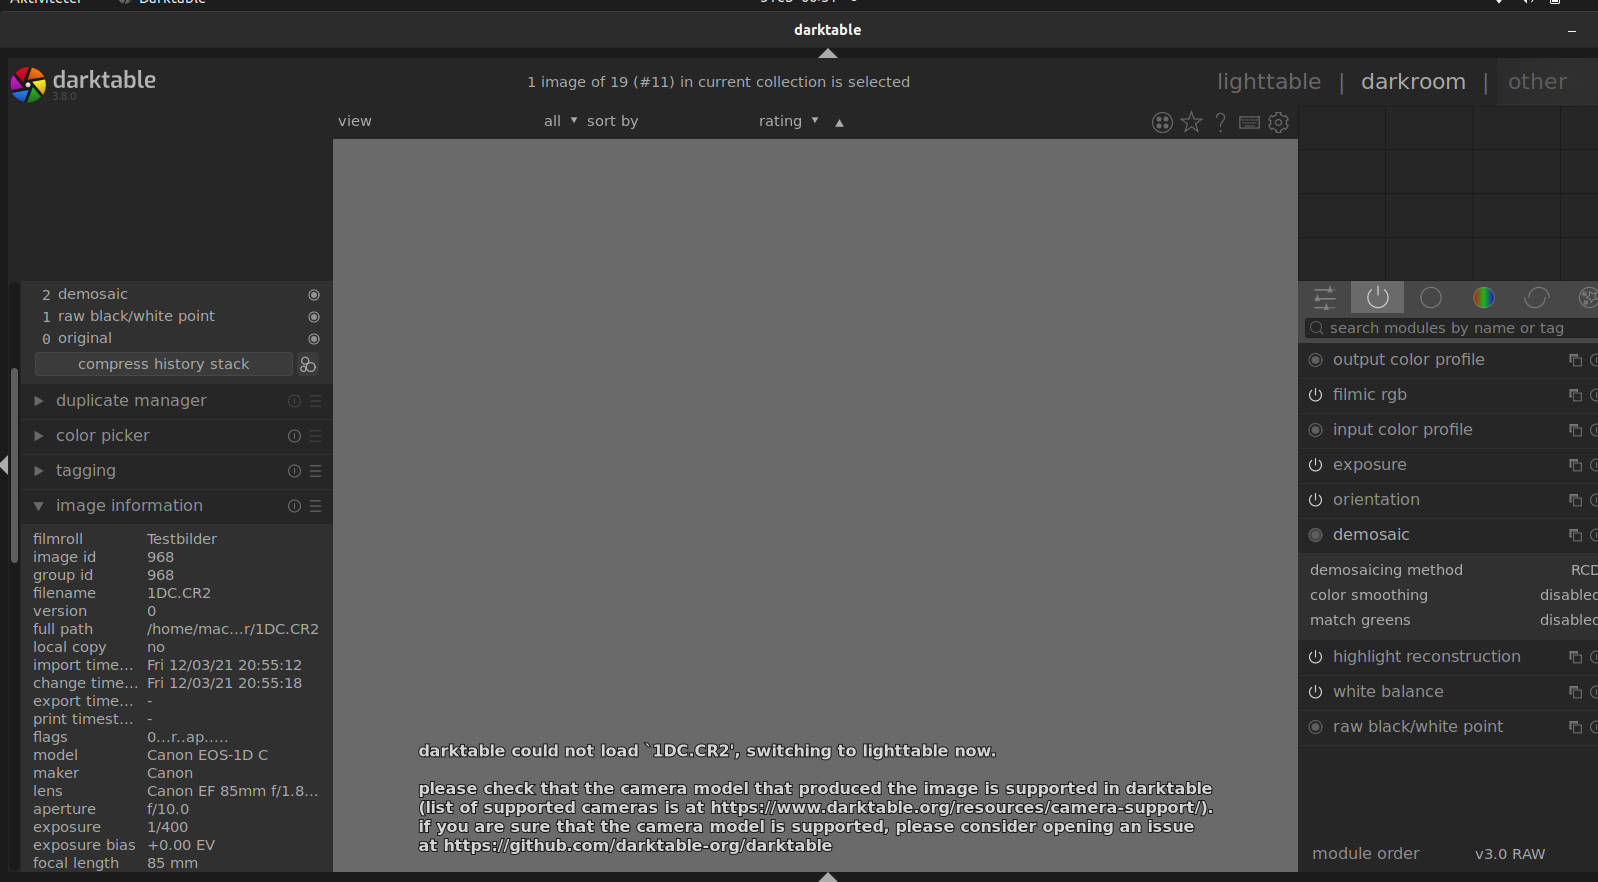
Some camera models may take months in order to get raw support. Others may get raw support within just a few hours. Especially if the new camera is just a renamed old camera. You find the official tutorial at Github and an older at darktable.org.
What to do
You have the camera and the raw files. The developers don’t, so that’s why you will need to contribute.
- Take a look at raw.pixls.us and search for your camera if someone already has uploaded raw samples for you camera model.
- If not, then upload your raw samples with CC0 license to let anyone freely use your raw files. Upload all types of raw files like sRAW, mRaw, uncompressed, compressed etc…
- Now head over to darktable at Github and fill a camera request ticket.
- Wait for support in the next version of darktable.
But what about raw support within just a few hours?
A lot of camera models already have a raw decoder in darktable and they just need to be added in the database cameras.xml. Your model, if you proceeded the steps above, may already be found in this database and it is possible to copy the settings for your camera into your local cameras.xml file meanwhile you are waiting for the next darktable release. In Linux you find cameras.xml in:
/usr/share/darktable/rawspeed/cameras.xml
For Windows it is to be found in your program folder.
C:\Program Files\darktable\share\darktable\rawspeed\cameras.xml
- Back it up before you edit it. Then open it. If your camera model exists in the cameras.xml at Github but not in your local file, then just copy/paste the camera model part, save and close.The settings for a camera model begins with:
<Camera make="Your camera brand" model="Your camera model">
And ends with:
</Camera>
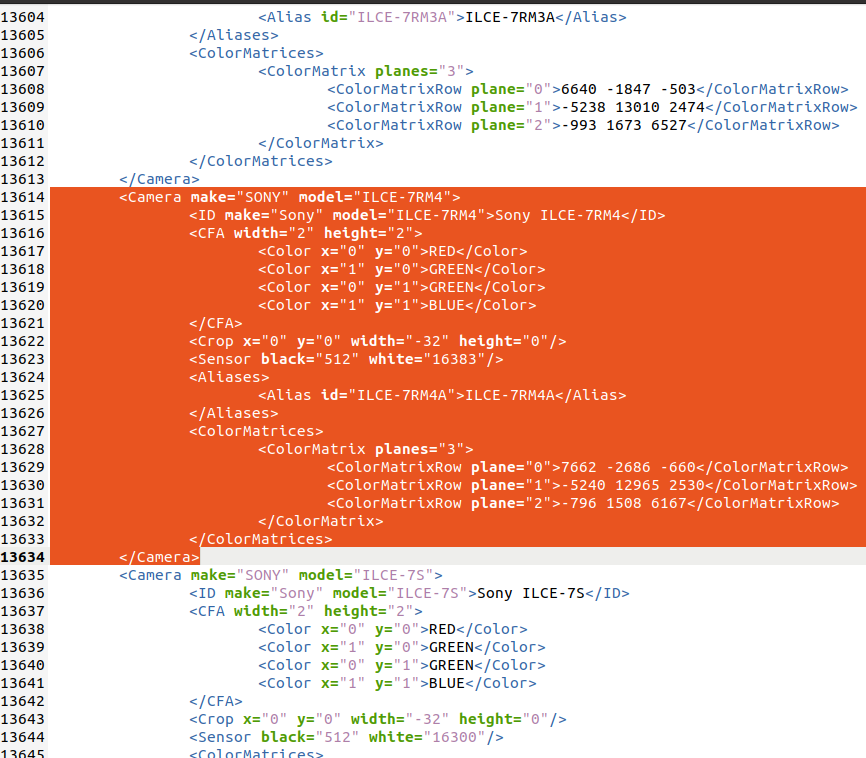
- If your camera is identical to another camera model, like Sony ILCE-7RM4 (Sony A7R IV) and Sony ILCE-7RM4A (Sony A7R IV A), then you can just before <ColorMatrices> add
<Aliases>

<Alias id="Camera model">Camera model</Alias>

</Aliases>
Extract BlackLevel, WhiteLevel and ColorMatrices
To add a completely new model you will need Adobe DNG Converter and exiv2. For Windows, download the zip file.
Convert your raw file to .dng. Then open exiv2 in a Terminal and run:
$ exiv2 -pt file-name.dng | grep BlackLevel

$ exiv2 -pt file-name.dng | grep WhiteLevel

$ exiv2 -pt file-name.dng 2>/dev/null | grep CalibrationIlluminant2

$ exiv2 -pt file-name.dng 2>/dev/null | grep ColorMatrix2

If you use Windows you may need to just use:
exiv2.exe -pt file-name.dng

You will then need to manually search, Ctrl+F, the tags BlackLevel, WhiteLevel and ColorMatrix2.

For the case above a Sony A6001 (identical to Sony A6000) has been used.
BlackLevel 131072/256 = 512
WhiteLevel = 16300
ColorMatrices = 5991/10000 -1456/10000 -455/10000 -4764/10000 12135/10000 2980/10000 -707/10000 1425/10000 6701/10000